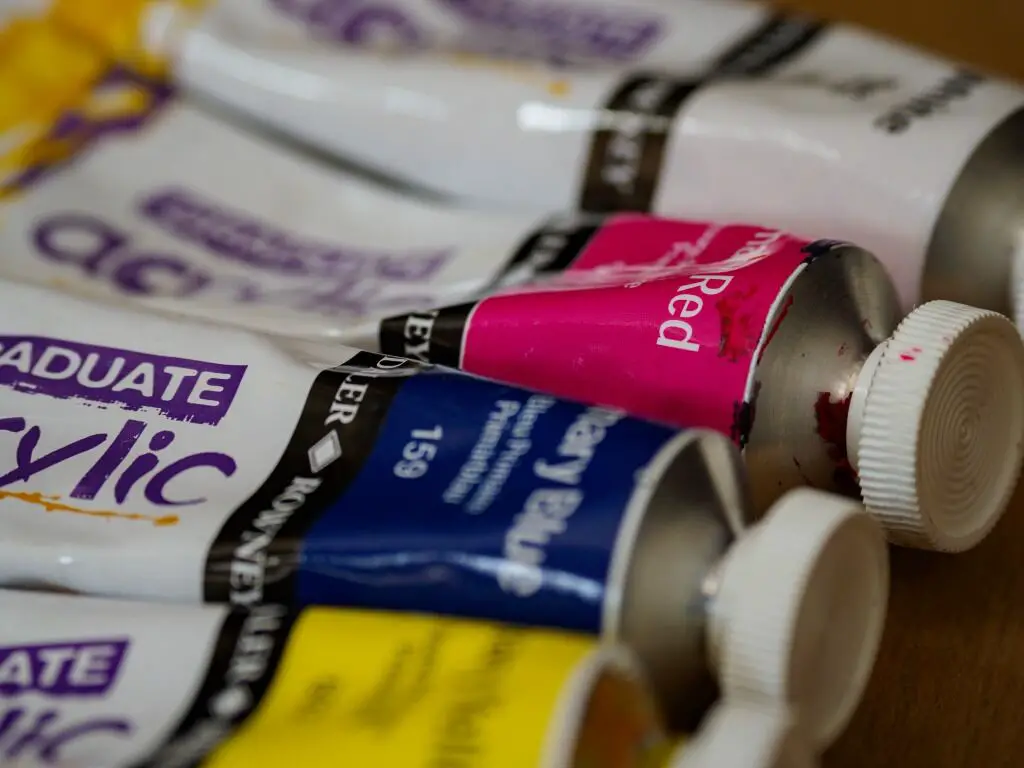
1) Acrylic Paints: Red, Yellow, Blue, Black and White
These days, there is an enormous selection of manufacturers of jars and tubes of acrylic paints, some more expensive and better quality than others. As you progress, you will experiment with many of these and will eventually decide on your own personal favourites.
The least colours you will need to start with are red, yellow, blue, black and white. Other colours, tints (adding white) and shades (adding black) can be mixed using this basic selection in varying proportions. Have a look at an artists colour wheel in a book or online to see exactly how this is done; also a colour wheel will show you opposite and complementary colours to use in your painting to achieve a satisfactory and harmonious piece of art.
You will also need an empty clean jar to fill with plain tap water to dilute your paint and wash your brushes clean.
2) Paintbrushes: 3 Different Types
A few simple Golden Taklon (synthetic) paintbrushes will be ideal to start with. Ideally, a flat brush for adding large swathes of colour, a rounded or filbert shaped brush for detailing, plus a fine brush for adding any delicate details are a good choice.
As you progress, you can experiment with different brushes, palette and painting knives, even aerosol sprays, but paintbrushes will be satisfactory in the beginning. Real hair and bristle brushes are expensive and do not fare very well with acrylic paint because if they are not kept wet all the time (apart from cleaning and drying between colour changes) the paint will dry rock hard and ruin the brushes, also keeping them wet spoils the bristles over time. Synthetic brushes are far more hard-wearing.
Remember to keep a rag or paper towels at hand while painting to wipe your brushes dry after rinsing.
3) A Painting Surface: Canvas/Wood/Paper
There is a wide choice of commercially prepared painting surfaces designed for use with acrylic paints. You could use canvas, masonite panels, wood, canvas board or paper. To start with, we suggest you use heavyweight paper specifically manufactured for acrylic painting. It frequently comes in book form with each leaf detachable for individual use. They are strong and durable and often ready gessoed so they don’t wrinkle or buckle when wet, plus the paint adheres readily to the surface. This helps you create a more permanent artwork.
4) An Artists Palette
Unless you intend to squeeze or pour the paint straight from the tube or jar directly onto your painting surface without mixing or diluting the colours, you will need a dedicated surface upon which you mix your paints and colours. This is called a palette. There are a vast selection of commercial palettes available, these include disposable palette paper, plastic dishes, special “stay-wet” palettes and large wooden palettes. This choice is entirely up to you, however, we have found that actually, a simple paper plate is quite satisfactory to start painting with. Plus it has the added bonus of not needing to be scrubbed or cleaned after use because it can simply be disposed of in the bin when you have finished.
5) A Pre-Sketched Design To Use As A Guide Where To Place Your Paint
If you are already confident in your sketching skills, you won’t need this. You can draw directly on to your painting surface prior to painting. However, if you are nervous or prone to making mistakes, then rubbing out pencil marks will sully or roughen parts of your painting surface. It would be better to draw on to a separate piece of paper first, then transfer your design to your painting surface using carbon or graphite paper. Otherwise you could scan your sketch on a computer and print it out onto some acrylic paper, ready to paint.
So…..you are now ready to produce your acrylic artwork!!! Happy painting and remember to enjoy yourself!!


